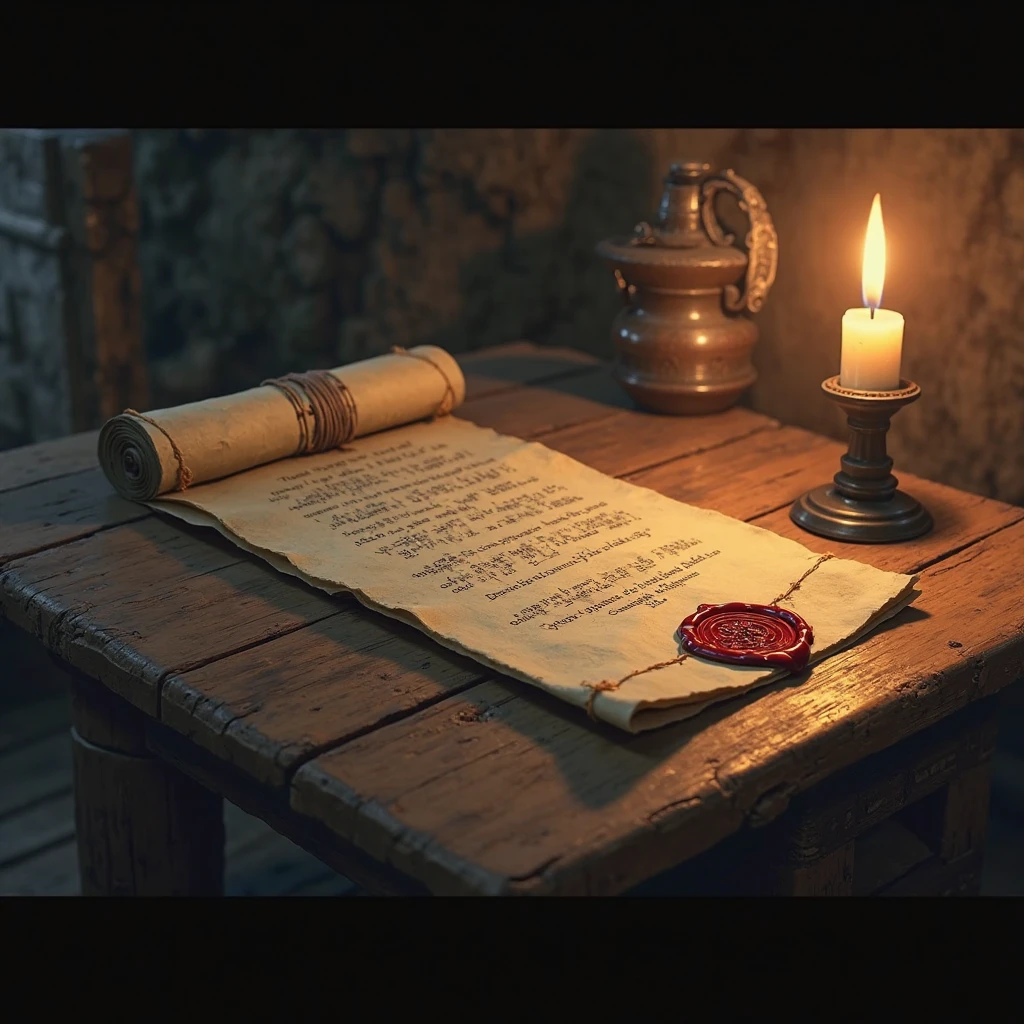
Do you dream of being a medieval scholar, a treasure-hunting pirate, or a wizard who decodes ancient prophecies? With a bit of imagination—and this guide on how to make an ancient scroll—you can bring those stories to life! This easy DIY scroll tutorial teaches you to make aged parchment. You can use cheap materials that you likely have at home.
Making your ancient scroll is a fun way to spark your imagination. It’s perfect for storytelling and even a bit of history. A DIY scroll adds a touch of mystery and charm. It’s perfect for a school project, a fantasy-themed party, or a weekend craft.
The best part? You don’t need a time machine to make something that resembles an Egyptian tomb or a wizard’s study. Gather a few household items and some paper. Then, let your creativity flow!
Why Make an Ancient Scroll?
A DIY scroll adds charm, mystery, and vintage appeal to just about anything. Here’s why people love making them:
- Party decorations: perfect for themed birthdays or Renaissance fairs!.
- Unique gifts: write a poem, recipe, or secret message inside.
- School projects: history reports never looked this cool.
- Imagination fuel: kids and adults will love storytelling with these.
- Theatrical Props & Costumes: Adds authenticity to cosplay and plays.
Creating a DIY scroll is enjoyable for everyone, from children to adults. It sparks imagination and lets you explore a bit of history.
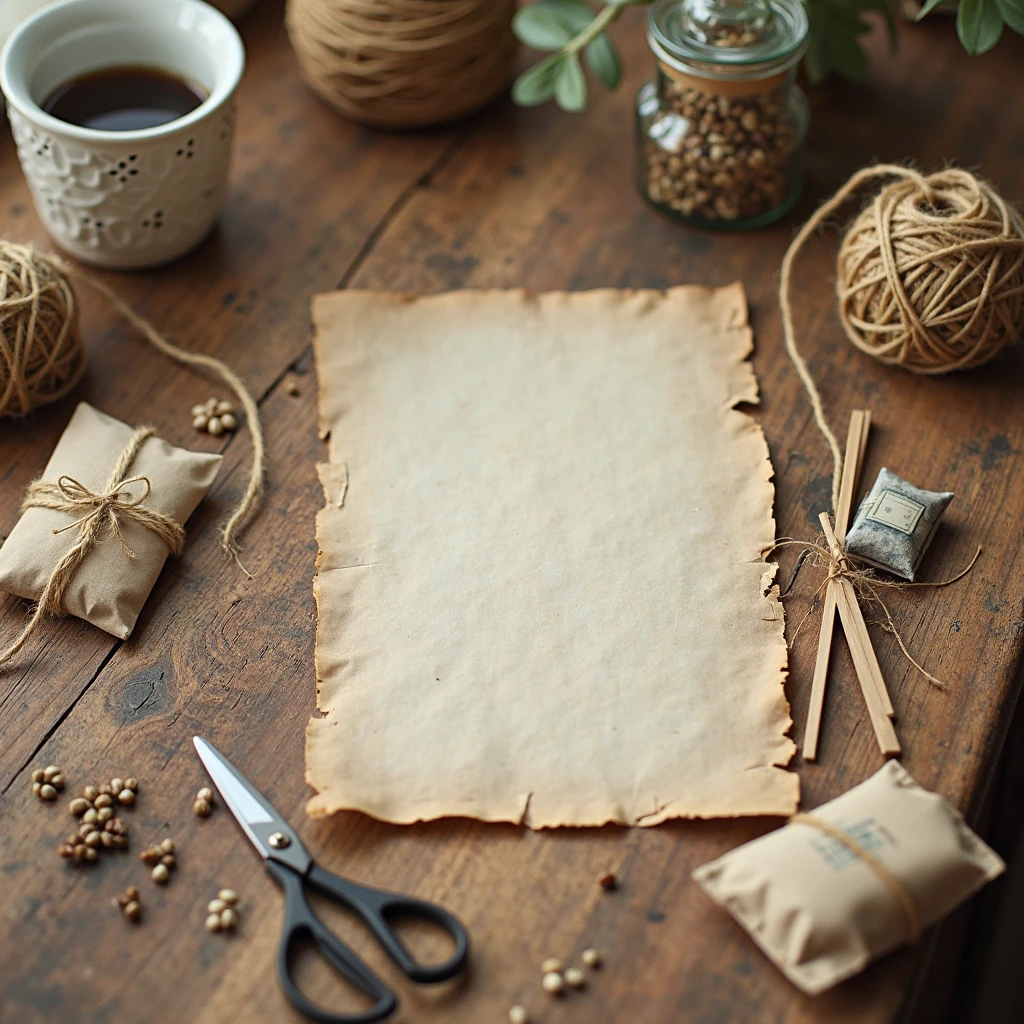
You’ll Need While how to make an ancient scroll
Most items are household basics or cheap craft supplies:
- Paper (printer paper or recycled paper works great)
- Tea or coffee (for staining)
- Chopsticks, skewers, or twigs (to act as scroll rods)
- Glue (white glue or glue stick)
- Scissors
- String, twine, or ribbon
- You can use: crayons, candles (to burn edges), stamps, wax, cinnamon, glitter, or jewels.
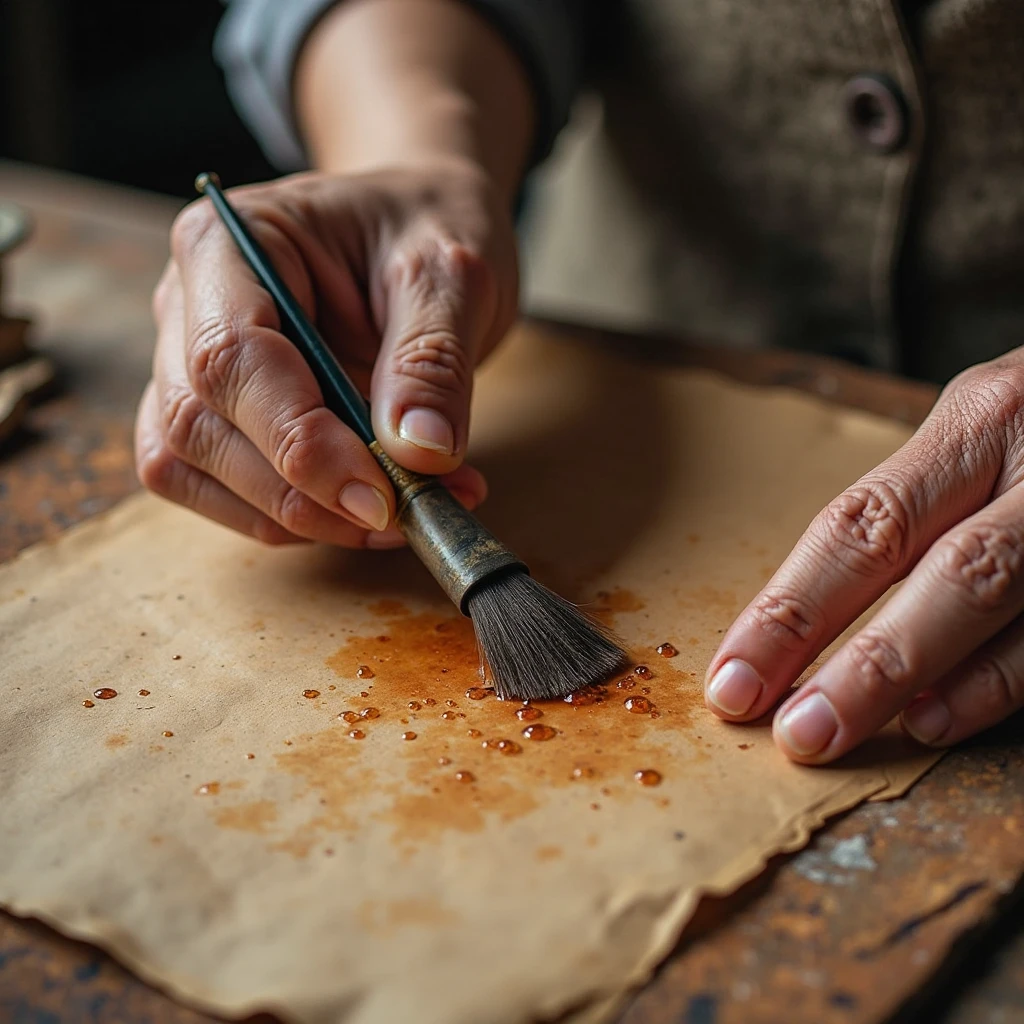
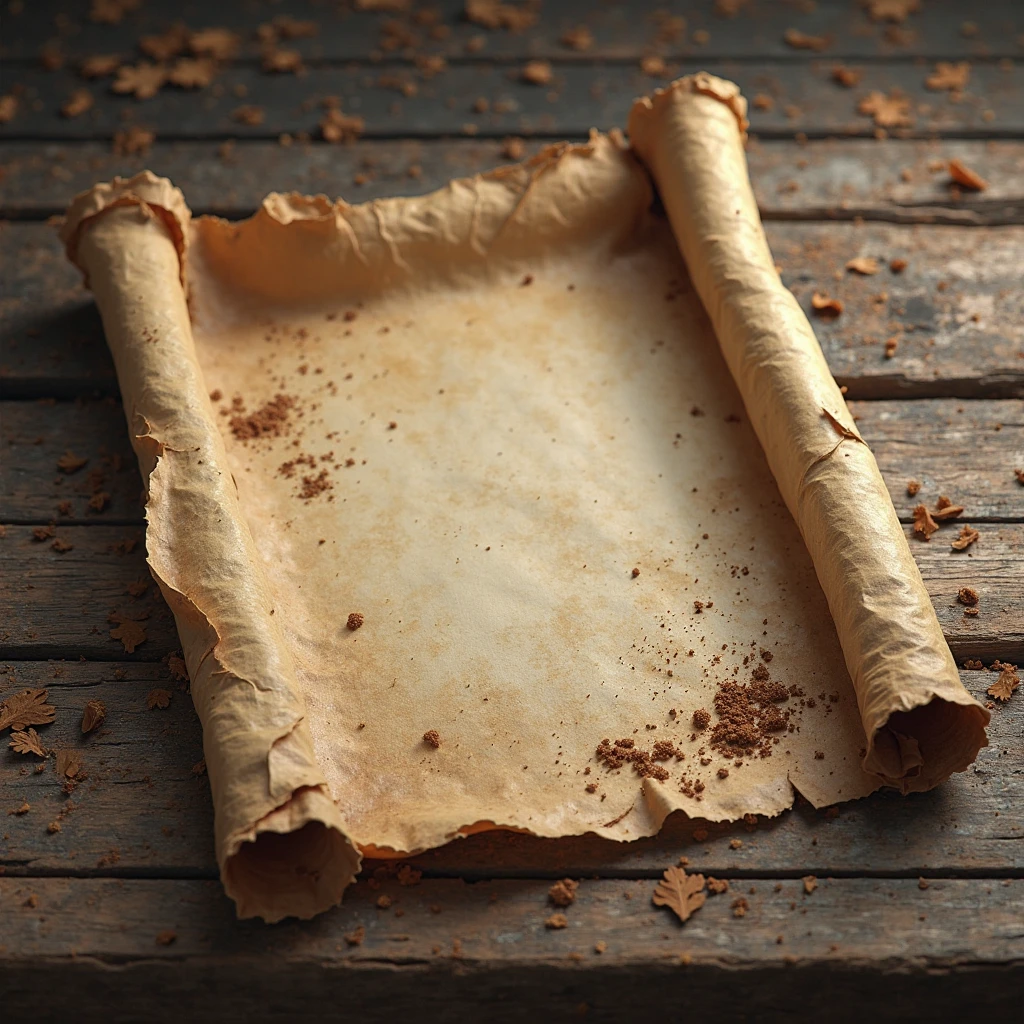
Step 1: Age Your Paper
Ancient scrolls weren’t bright white—they looked worn, old, and mysterious. Here’s how to make your paper look centuries-old:
- 1. Crumple and Flatten: Crumple the sheet into a tight ball. Unfold and flatten it. Repeat a few times to add texture.
- 2. Stain the Paper: Use strong black tea or coffee (cooled) to paint the paper with a brush or sponge. Focus on corners and edges. Let it dry naturally for a realistic aged effect.
- 3. Add Burnt Edges (optional): Adults only! Carefully singe the paper edges with a candle or lighter for a burnt, fragile look. For a kid-safe version, use a brown crayon or ink to darken the edges.
Pro Tip: Dab wet tea bags directly onto the surface for blotchy stains and to achieve a deeper color.
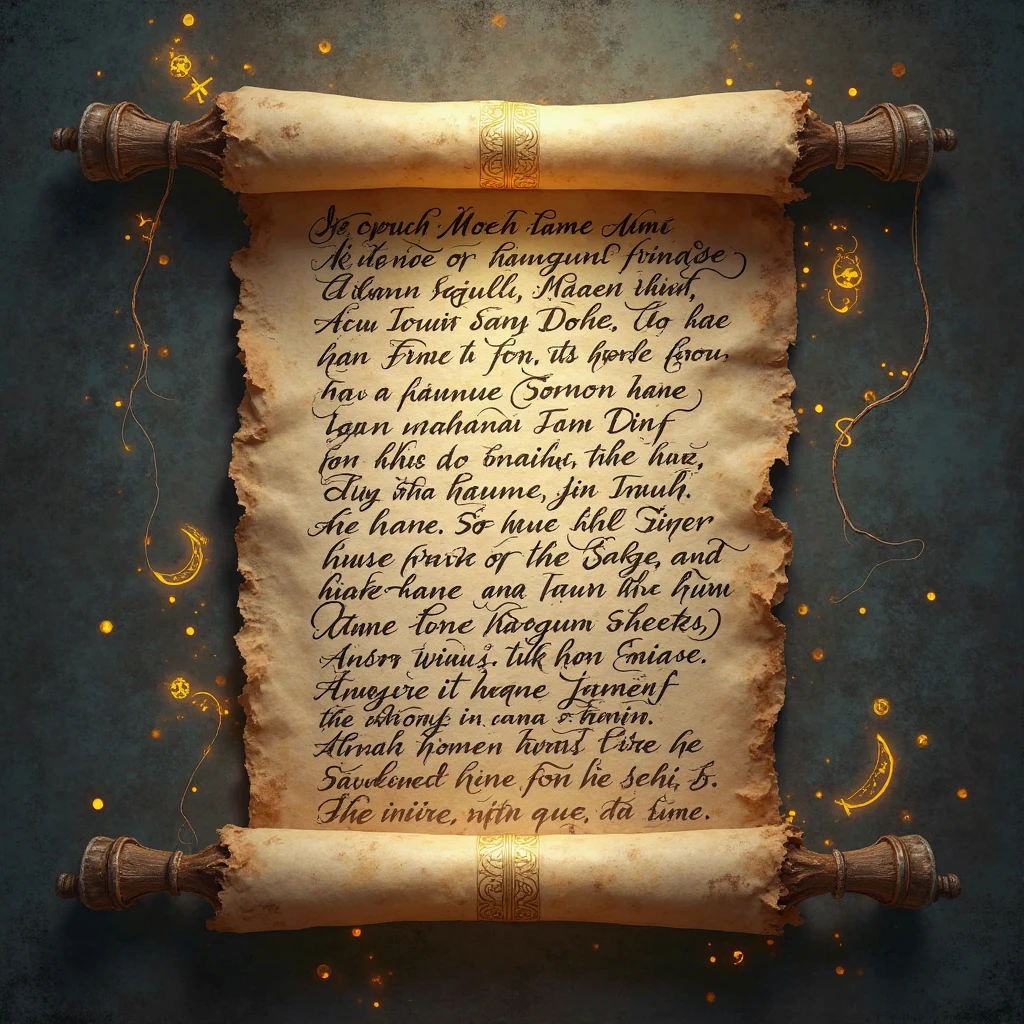
Step 2: Add Your Message or Art
Now that your scroll looks ancient, it’s time to add the content. Think of what your scroll will say or show—will it be a treasure map, a royal decree, or a spell?
- Ideas for your diy scroll text:
- Use calligraphy pens for an elegant, old-world look.
- For fun, write in a secret code or runes.
- Sketch symbols, maps, or fantasy creatures.
- Use watered-down ink or paint to create faded, smudged writing.
Pro Tip: Create a “Lost Scroll of the Forest Elves” or “Wizard’s Final Spell”—make it creative and fun!
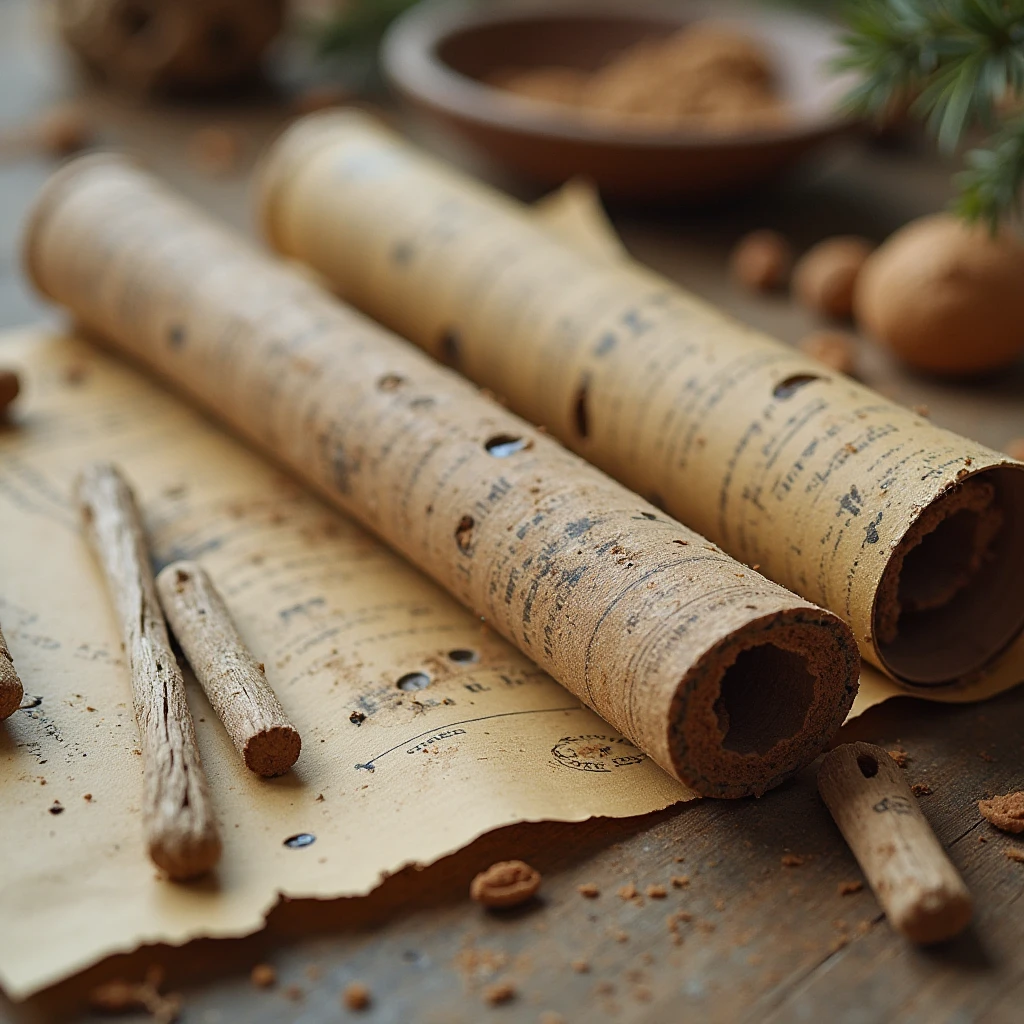
Step 3: Attach the Dowels
Ancient scrolls usually had wooden rods to roll and unroll the parchment. You can mimic this easily:
- Cut two sticks (wooden skewers, chopsticks, or twigs) slightly wider than your paper.
- Apply glue to the upper and lower edges of the paper.
- Roll the paper tightly around each dowel that has been attached to the edge.
- Let everything dry completely before proceeding to the next step.
Pro Tip: Rough up your dowels with sandpaper for a worn, ancient wood look.
Step 4: Roll It Up & Tie It
Once everything is dry:
- Roll the scroll from both ends toward the center or in one full roll.
- Tie it with ribbon, twine, or string.
- Decorate with a wax seal, a bead, a feather, or a charm.
To create a wax seal, melt a crayon onto the scroll and press a coin or button into it before it hardens.
Step 5: Make It Look “Lived In”
Make your DIY scroll feel truly ancient:
- Lightly rub cinnamon, cocoa powder, or dirt on the edges for a dusty effect.
- Flick black paint or ink to mimic ink stains.
- Tear tiny holes or corners to show “centuries of wear.”
Pro Tip: Store the scroll slightly open for a natural curl.
Creative Ways to Use Your Scroll
Not sure what to do with your scroll once it’s done? Here are some ideas:
- Treasure Hunts: Use scrolls as clues in an indoor or outdoor scavenger hunt.
- Wall Decor: Hang framed scrolls in a reading nook or kids’ room.
- Storytelling Props: Perfect for bedtime tales, D&D campaigns, or school plays.
- Time Capsules: Write a message to your future self, roll it up, and bury it in the ground.
- Photo Backdrops: Great for themed parties or costume photo shoots.

Fun Fact: Scrolls vs. Books
Did you know that scrolls were the first portable reading tools? They were used for thousands of years before books were invented. Long before there were paperbacks and e-readers, ancient civilizations used scrolls. They wrote down stories, laws, religious texts, and scientific knowledge on the scrolls.
The earliest scrolls that have survived date back to approximately 2400 BCE. One of the best-known is Egypt’s Book of the Dead. This funerary text has spells and rituals. They help the deceased in the afterlife. These scrolls were often made from papyrus. Papyrus is a plant-based writing material. They rolled them up. Then, they stored them in protective containers.
Scrolls weren’t just for Egypt. Ancient Greeks, Romans, Chinese, and Hebrews also used scrolls. They recorded a wide range of things, from epic poetry to legal codes. Scrolls symbolized wisdom and status. Skilled scribes often handwrote them.
Why the Codex Replaced the Scroll
So, when did books take over? About 300 CE, the codex appeared. This format looks like today’s books. The pages are stacked and bound together. Codices were easier to navigate, more durable, and held more text in a smaller space. The codex eventually replaced scrolls. It was easier to carry, read, and store.
However, scrolls never entirely vanished. They still hold cultural and ceremonial value in many traditions today. In crafts and education, the DIY scroll is a fun project. It helps people connect with history.
When you create your DIY scroll, remember that you’re making a piece of history. This craft goes back thousands of years. Pretty magical.
Let History Inspire Your Creativity
Making a DIY scroll is more than a fun craft. It connects you to history and sparks creativity. You can step into a storybook world as a wizard, pirate, or ancient scribe. Creating scrolls gives you countless ways to play and learn.
Gather your supplies. Brew some tea to age the paper or sip while you work. Let your imagination flow.
Share Your Scroll!
Your creations would be much appreciated! Present us your do-it-yourself scroll creations by tagging us on social media at @CraftyFacts. Your ancient artwork should be seen, whether it’s for Halloween, a class assignment, or simply for pleasure.